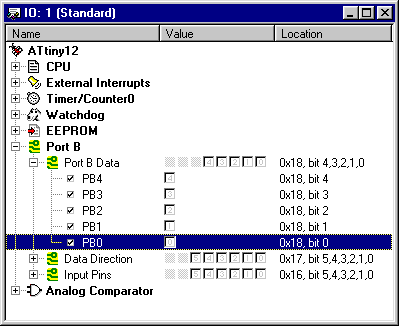
Say you have a red LED connected to PORTB (bit 0) on the ATtiny12. You want to display it but you do not want to display the rest of the port. The easiest way of doing this is to first enable drag in the I/O window and then expand the PORTB view to view each bit.

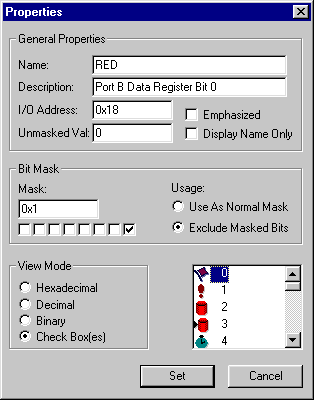
You then drag the bit 0 item down to the root of the view, or to any other location you want. Press Ctrl while you release the item into the desired position. You now have a copy of bit 0 on POSTB. Then you would like to give it a more informative name for your application. To rename PB0 to RED select PB0 and then select Item Properties from the right mouse button menu.
You can now edit the name and other properties of the item representing the bit PB0. Remember to check the address and bit mask to avoid spending time on watching the wrong bit or I/O address.

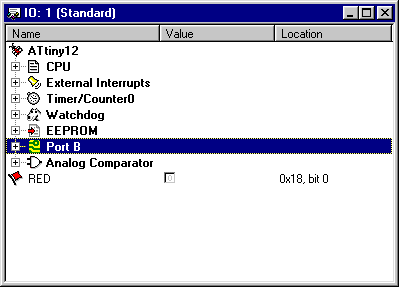
You can now close the expanded view of PORTB and you can still see bit 0 of PORTB labled as RED.

When you close the debug project, the I/O window will be automatically saved, and restored the next time the project is opened.
See Also